NOTE: IN ORDER TO BETTER SEE PHOTOS IN THEIR FULL 1600 PX. RESOLUTION, VIEW THEM IN THE ALBUM FORMAT BY CLICKING ON THE LEAD PHOTO OR ANY PHOTO IN THE POST. This is especially true for landscape shots. Thanks to Mark for the idea of adding this alert so the photos can be seen at their best!
Showing posts with label Christmas decorations. Show all posts

Sunday, March 1, 2020

The Holidays

When my daughter and her fiance came for a visit in December the one thing on their list was to head back to the Dildo Brewery.

Katrina and Charlie pay for their Dildo merchandise

Jimmy Fallon has made Dildo famous, and I hope the summer visitors continue to flock there. The ferry from Nova Scotia to Argentia is only about a 45 minute drive from Dildo, or you could fly in to St. John's International Airport and be there in an hour in your rental car.


You'll know you're in the right place, Jimmy for Mayor signs and the word Dildo are everywhere. We timed our visit to coincide with the Mummer Parade, which was a much smaller affair than the one they hold in St. John's, but I stood in the snow and waved to the anonymous marchers just the same.  We should have just stayed at the Brewery because that's where they all ended up!

Mummers have a rest after the parade

We also went to St. John's to visit the Mad Catter Cafe where your admission goes to help kitties and you can enjoy a coffee while playing with them.


But mostly we hung out at home, happy to be together again.

Both my babies are taller than me

For Wayne and I the Holidays meant we got to share our Peanuts gang with a whole new audience.


Spongebob and his pals made the journey from Wisconsin too. My cousins' kids loved it when I encouraged them to use them for snowball target practice!


We skipped the outdoor lighting this year except for a few spotlights...


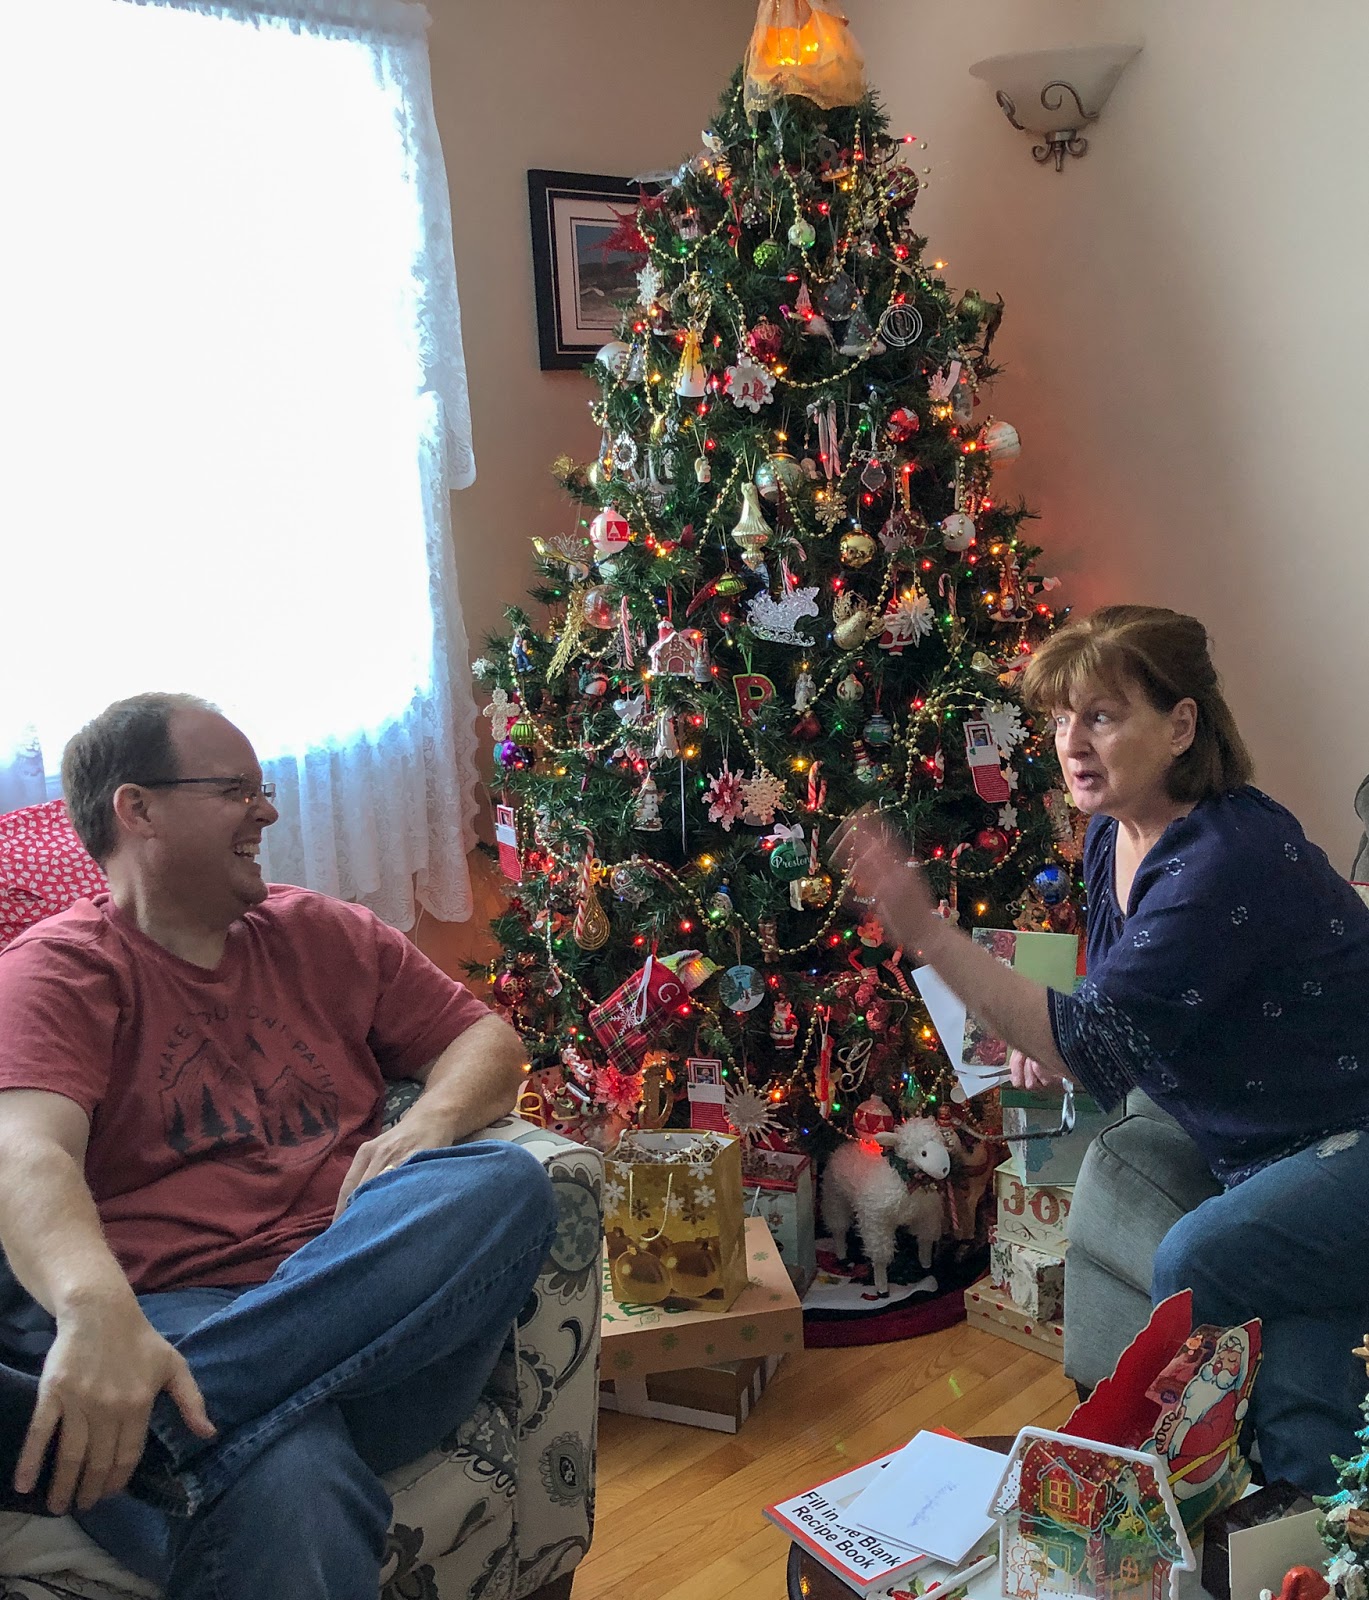
But bought two Christmas trees at Canadian Tire to make the inside festive for our guests.


I was just as excited to finally have the last chandelier hung by a nephew in time for the Holidays, and that light will bring cheer all year long!


We weren't the only ones putting out the yard decorations, it's definitely a thing out around the Bay.


And when you're done driving around looking at all the lights you can stop in and have a drink!


I didn't used to drink but a few times a years, but I've become a big fan of the taste of Newfoundland Distillery's Seaweed Gin mixed with 7Up and Lime and have it once a week now.


Somehow with all that house we have the garage has become the hangout, after all it contains a fridge full of beer and a dartboard.

Me, Cory and 2 of my silly sisters-in-law

All this Christmas reminiscing has me thinking it's time to invite a couple of crazy Leonards over for drinks and darts again soon!

Wednesday, January 2, 2019

Christmas in Newfoundland - Not Over Yet!

Those Newfies loves them some Christmas!


My sister-in-law greeted me the morning after my arrival all decked up as Mrs. Claus, for heaven's sake.


And when I walked into my Nan's house I was greeted by a tiny line of Santa clothes.


And of course the house was ready for Santa to appear.


If you haven't heard of mummering I wouldn't be surprised.  The tradition had started to die out in Newfoundland but now it's making a comeback.  I wanted to check out the Mummers Parade in St. John's the morning after I arrived but ended up too eager to drive out to my people to stick around for it.  Here's a YouTube video of the parade from 2017:


I think the turn-out in 2018 was higher, and before the parade workshops are offered to help people make "ugly sticks" and get costumed up.  Mid-December is a bit early for mummers to visit your house but even though I missed the mummers parade I did see mummers at the airport...


and I ran into a few at the Senior Dance! And yes, that is my 91 year old Nan dancing with the mummers.  It's hard to keep her off the dance floor.


Here is my video from the dance, I was surprised by their arrival so wasn't really expecting to have to film, but glad I made a quick attempt.


Nan also got a present, and a kiss, from Santa Claus!


My cousin and I made the rounds visiting, getting to admire many trees and drink many cups of tea.


I can't wait until next year when we will all be home for the whole Christmas season which lasts until Old Christmas Day on January 6th.

Thursday, December 27, 2018

Wisconsin Made, Wisconsin Proud

I should be all caught up with blogging, but for the past 10 days since I left Newfoundland I've been slacking off, wandering around in daydreams.


So today I'm getting out my typing fingers and scheduling some blog posts, get ready for the speed round! First up I have some pictures from Milwaukee when Mom and I went to Public Market and some other places for a day out together.


One of the benefits is the first hour of parking is free, and the other is all the yummy stuff to look at.


We grabbed some lunch and headed upstairs to sit down.  And stumbled upon a gingerbread house competition! Which was great because I didn't get over to the Grand Geneva to see theirs this year.


The public was invited to vote...which to choose?


In the end it had to be the one below, the details were just too fun, though #25 was my runner-up.


I mean, the garden hose alone was worth first place!


Just across the street the cream city brick was visible through the windows while we ate.


So while Mom was finishing up I darted over to Colectivo Coffee and got one of their imitation Pop Tarts to try.  Wasn't a fan, but you might love it!  I'm into doing those things now that I've wanted to but haven't gotten around to since we'll be moving before you know it.


I'm going to miss that brick...how many people say that when they leave a place?


One of the spots at Public Market has the coolest counter, and date smoothies which I might try at home one of these days.


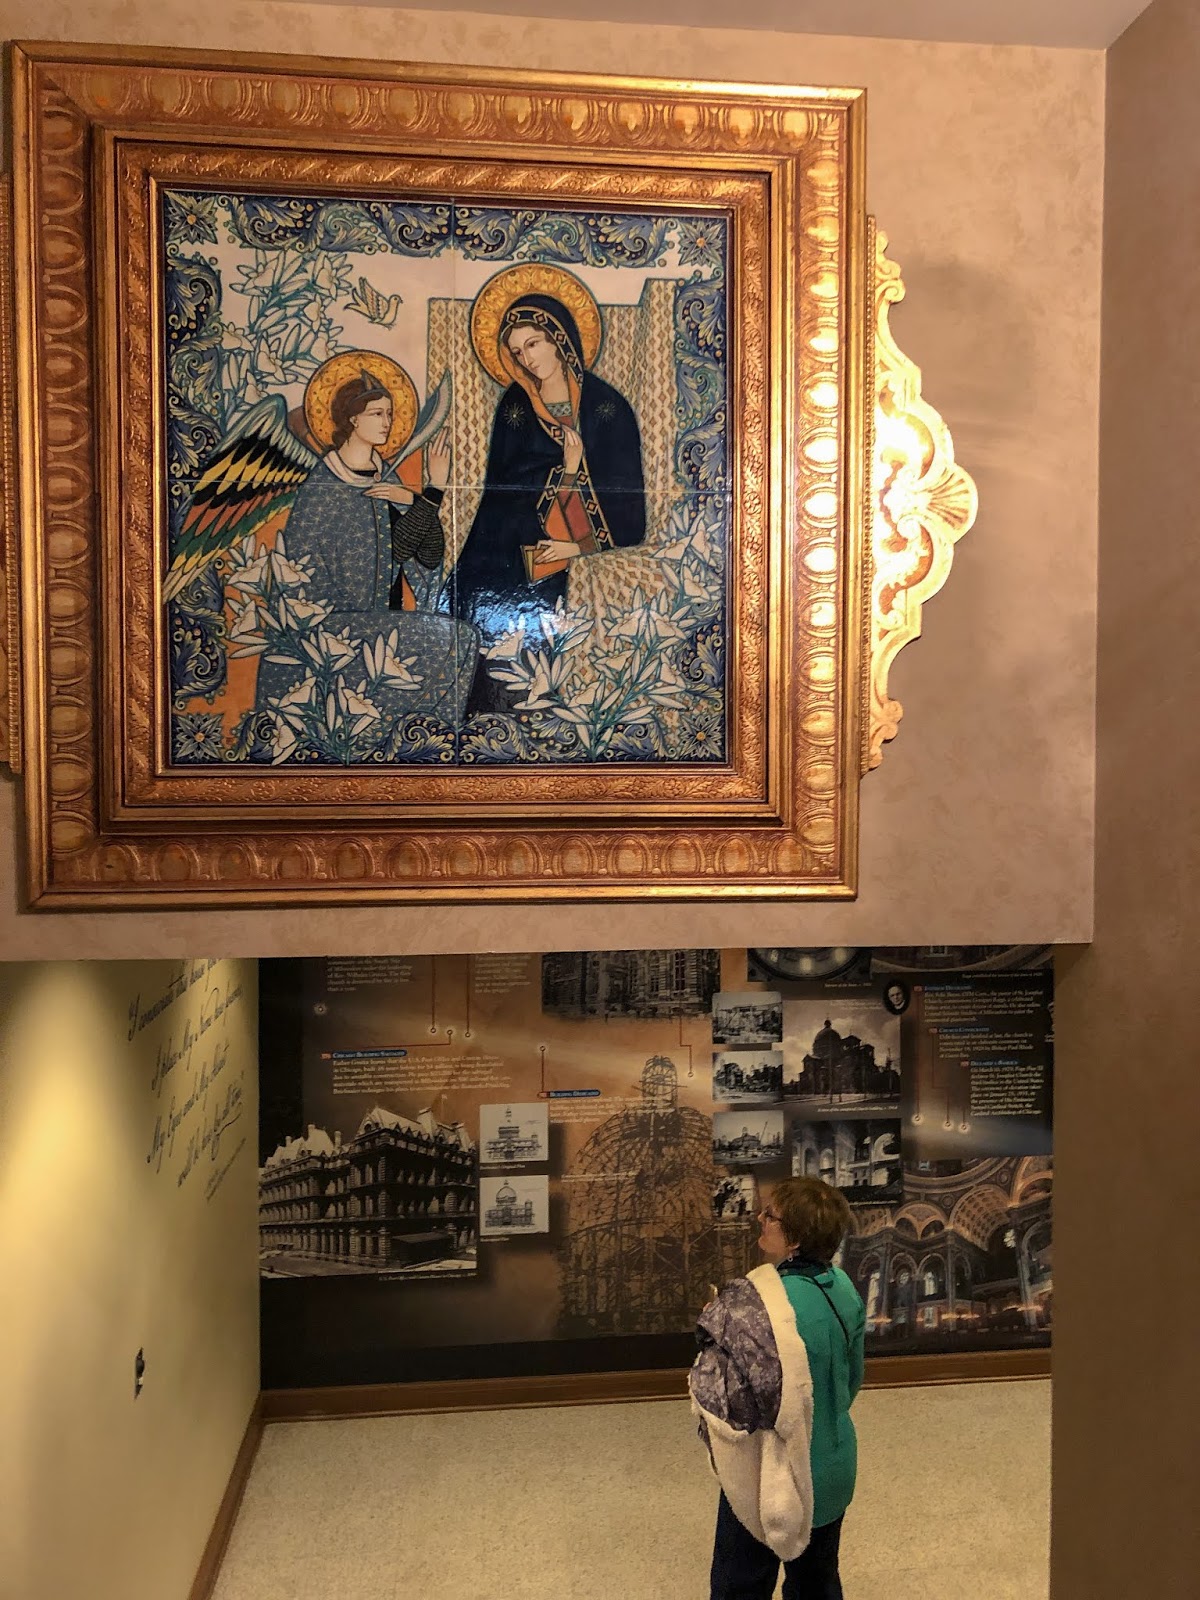
We also stopped at the Basilica St. Josephat, someplace I have been to before but my mother had not visited.  When looking back at the post I wrote on that visit, I was amused to discover I also went to Public Market and Colectivo that day.  The pictures are different, only the itinerary is the same!


Most of what you see is painted, the church was originally all white inside.


My mother asked me to climb up and pose for a picture.  I declined politely.


I wonder what it sounds like when the organ is playing and the choir is singing?


If you'd like some nightmares, I suggest going to this link and reading the story of how Josaphat became a martyr.  Or the story of any saint for that matter, gruesome stuff usually.


I made sure Mom went downstairs to read the history of the building of the Basilica, including how they bought the materials from the destruction of the old Custom House building in Chicago and had it shipped to them to be reassembled in a new design.


The Custom House served as a viewing stand for the Vice President during a parade to celebrate the 1893 World Columbian Exposition! It was the second mention of the exposition I saw that day, that history is everywhere I swear.


Merry Christmas...a few days late!  More to come, including news of where I will end up next week!

Wednesday, November 28, 2018

Annie Get Your Glue Gun?

The recent trip to the upcycling craft fair and getting the house decorated for Christmas got me in a glue gun kind of mood.


I was pondering a giant and very heavy roll of burlap that I bought last year to make bows for the tree, and did a Google search for Christmas and burlap for some ideas.  I found this tutorial that looked simple and used items I already had on hand to complete the above project in half an hour with my handy-dandy glue gun. Even the bow was glue gun friendly and easy to make after I watched this 1 minute video!


I made a few ornament wreaths last year, and had also bought a styrofoam cone to do a tree but ran out of energy before getting around to it.  So the cone and the leftover ornaments became a tree at last yesterday. There are plenty of tutorials on YouTube to choose from, but I will add my opinion that gluing the balls to the styrofoam cone without using tinsel garland or some other filler leads to ugly white gapping.  For the star on top I stuck a toothpick in the styrofoam, added a drop of hot glue and then some more hot glue in the opening at the bottom of the star and held it in place for a minute while it set to make sure it came out level. Next up...ornament garland?


Spongebob and the Peanuts gang made it out to the yard before the snow fell the other day but we didn't get the lights or the the flood lamps out yet, hopefully the weather will hold and it will get done this weekend!  It takes more than a glue gun to make the yard decorations, if you missed the post last year and want to know how we make them click this link.

Sunday, January 7, 2018

Look What I Did for the Holidays!

Holiday decorations strung over the street in downtown Wausau


Over the Christmas season I actually took almost two weeks off work.  I know now you are scratching your head and wondering why I didn't post on my blog with all that spare time.  I found an alarming amount of other projects to immerse myself in instead, including a sudden urge to make new yard art for Christmas.  Here's a picture of the yard art I made with Wayne's help about 8 years ago.

Spongebob and Patrick have real hats stapled on..and were full of spider webs!

Well, the Bikini Bottom gang are getting a little worn from the weather, and while re-drawing their outlines and adding a coat of polyurethane extended their life another few years I decided the time had come to make them some new friends.


So here's how I do it:  I browse online for coloring book pages that fit the theme/characters I am looking for.  I divide the picture into a grid and then transfer the grid onto 3/4 inch MDF plywood.  I just do some approximate math and as in the picture above divide the sheet of wood into 8 squares and do the same with the image.  Then I only have to tackle a small portion  of the drawing at a time, just like in those old mystery grid art puzzles I used to do when I was a kid!  Some of the pictures I printed out were not winter themed, for instance I added a scarf and pants to Schroeder after I traced him out and with Peppermint Patty I changed the balloon she was holding to a candy cane and added mittens and a scarf but kept her signature sandals!

Wayne joins the artistic process

I got the MDF plywood tip from this link, my Spongebob crew were made out of regular plywood and what a difference the MDF makes.  It is a much smoother working surface and I expect the paint job will hold up more years.  If you look closely at the cutout of Linus below you will see the pencil marks from the grid, as well as the pencil marks where I made my inital drawing.  The final drawing in ink doesn't always match up as the image takes shape I have to make adjustments for it to look right.  I could never do it completely freehand though, the grid makes it all possible!  After making the final image in permanent marker Wayne cuts it out with a saw, and we erase the pencil marks as best we can with one of those big pink erasers.


As you can see, there is a method to my madness by using the permanent marker.  After Wayne puts a coat of primer on Lucy she would be a big blob and I'd have to figure out all over again how to fill her details in.  It's okay that the lines show through, I go over everything with black outline again after it is painted anyway to give it that cartoon drawing look.  I love that we do this as a team as we each get breaks from the task while someone else does the following step.  I draw, Wayne cuts and primes.  I paint the details, Wayne paints the sides and back.  I figure out how to arrange them on the lawn, Wayne attaches the stakes and pounds them in!


Jewel thought this was the best thing ever.  We were in the garage two days making all of the figures and painting them and she was there every step of the way.  She even climbed up the wall from the tool bench and jumped into the kayak hanging from the ceiling so she wouldn't miss any of the action!!

Bird's eye view of the creative process

For the color part of the process I used acrylic craft paint from Michael's, those small bottles of paint cover a surprising amount of surface.  I think I used 2 of the small bottles for the flesh tone, and for the red I had bought the large bottle and did not run out even though I used a lot of red.  I also did a little bit of mixing instead of buying multiple shades of blue for Linus' blanket and Schroeder's pants, and added a little yellow to the red along with a dash of brown for Peppermint Patty's hair.  Lucy's purple dress was custom mixed from the red and blue I had on hand as well.

Notice our camper lurking on the side of the house, just waiting for spring to come out and play

I started outlining with the black paint and it was taking so long that I switched to a King Sized Sharpie permanent marker.  Much easier to get the fine details, especially on Snoopy and Woodstock and it went so much quicker.  A quick coat of polyurethane was applied as dark started to fall, I'll add another coat when the weather warms back up.  We also paint the exposed edges and the back of the figures black.  Wayne made a wooden cross support of scrap wood for Charlie Brown's "tree" and we just took a branch and used wood glue to insert it into a drilled hole and hung an ornament on it.  My only complaint is somehow I made Pepperminta Patty too "short" and I plan to go back and fix that before next winter, otherwise I love how she turned out including her Packer colors with the yellow scarf and mittens against her green sweater!

I love these guys!! And my helper who you can see in the kitchen window!

We used screw in clips to hang the lights on the doghouse and Snoopy is actually a separate piece and is attached on the back with a screwed on brace.  Wayne used long wooden stakes screwed onto the boards to hold them in the ground.  We actually had to go back a few days later and unscrew them and pound them deeper into the ground and re-attach them after some heavy wind.  The link I provided above used a different method, choose whichever sounds better to you.  If you look closely at the bottom of the doghouse right under the blue bulb you can see one of the screws, I'm not a fan of this method but it is what Wayne chose so I had to go along with what he was willing to do and it obviously cannot be seen from a distance.  How can I complain with all the technical assistance he provided?  So modest too, every time a neighbor came over to compliment us as we were putting them up he passed all the glory to me.  Online these kind of figures run $90 each, we paid $75 for 3 sheets of 3/4 inch MDF plywood and had Home Depot rip them in half which gave us 6 sheets to work with that were 4x4.  I think I spent less than $20 on paint and other supplies.  Of course we put about 10 hours of labor into them at least, so maybe not a business you want to get into to make money but doing it yourself sure saves a lot of cash!

Next on my yard art to-do list...Halloween!  We'll see how many years it takes me to get around to that...